 These are pretty cool too:

 Or just any one you want. I'll be using the first one for this tutorial. After you find the one you like, download it and save it to your device.
Okay lets make some stamps together lets go lets go
This is the most commonly used used one:
These are pretty cool too:
Or just any one you want. I'll be using the first one for this tutorial. After you find the one you like, download it and save it to your device.
I use Photopea for basically everything image editing and it's what I'll be using for this tutorial.
Open the frame png in Photopea, then insert your photo too. You can do this by dragging it onto the space, pasting it, or by File > Open & Place...
Your png will probably be too big at first, so resize it to fit.
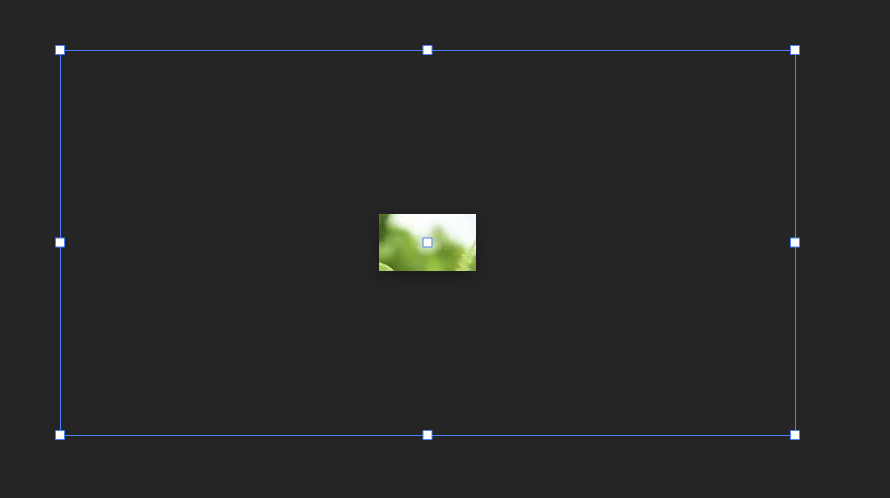

After that, create a selection box over the part you want your stamp to cover.
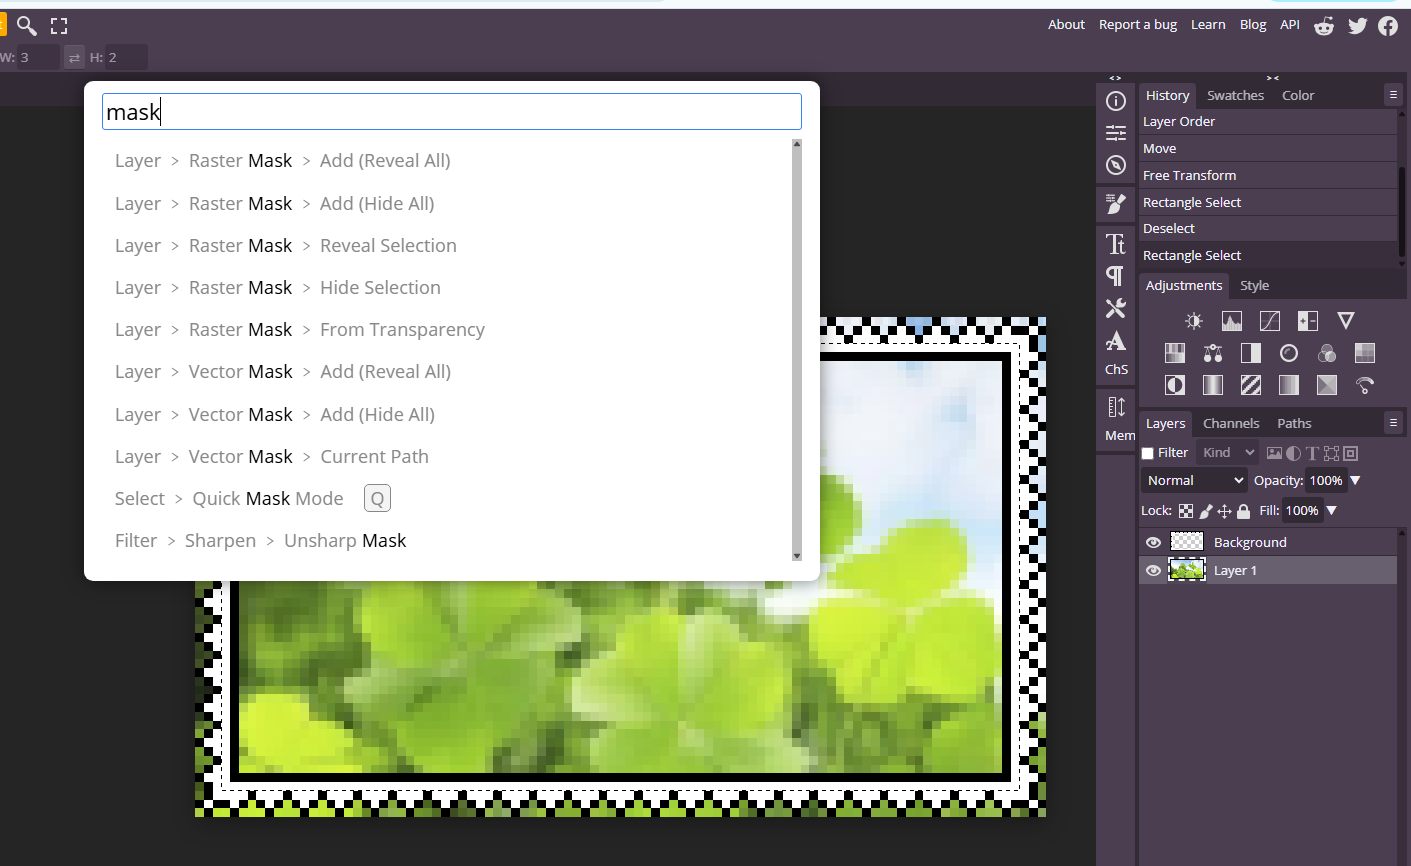
Then, open the search bar and click on Reveal Selection. Your png should now be masked to the frame, and you can export.
File > Export As > .PNG
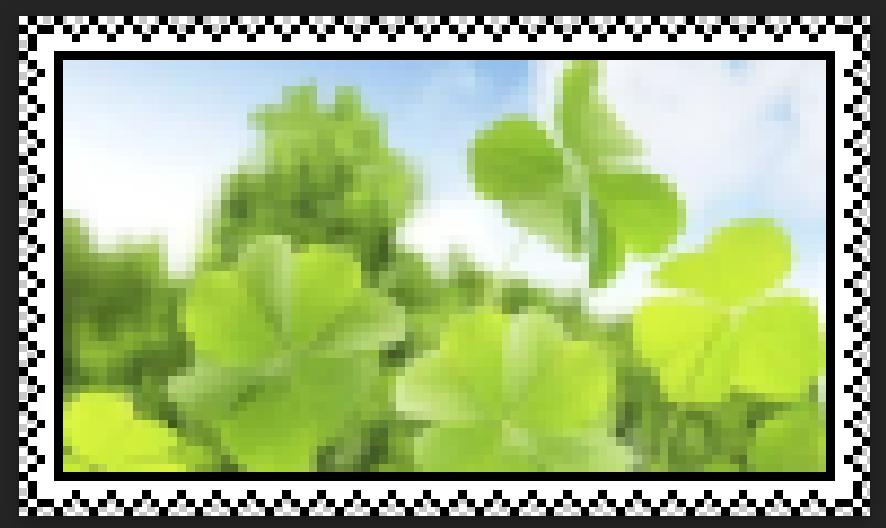
Final result! 
okay lets go. First, repeat the same steps for the simple png one up to the masked image. I basically do the same thing.
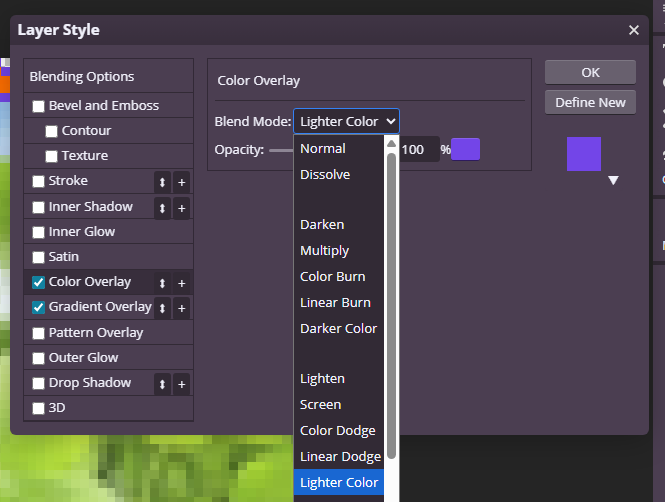
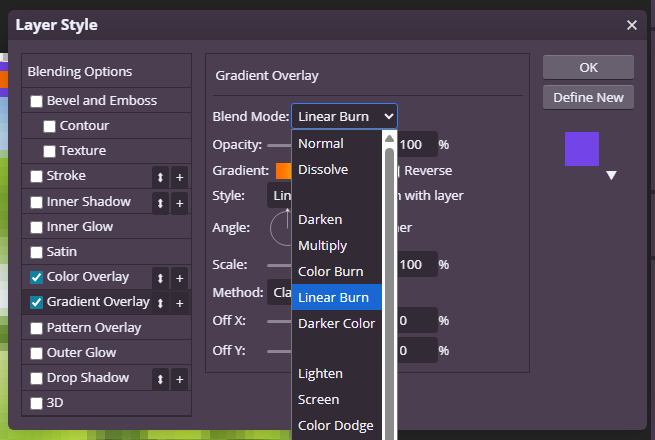
Right click on the frame layer and click Blending Options. You can seperate the white part from the black by using the Magic Wand tool, but for ease I do the following: Turn on both Color Overlay and Gradient Overlay. Put color overlay on Lighter Color, and gradient overlay on Linear Burn. The colors might not always work, but this is what I usually do.
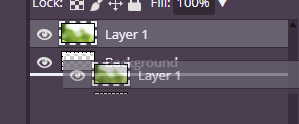
Drag the mask you just made onto your gif, then adjust the colors of the stamp to your liking.
Again, go File > Export As > .GIF, then you have your stamp!
Final result! 
I reccomend saving this as a PSD so you can keep opening and making stamps very quickly. Tutorial end


